3D to SVG

You can convert individual models or whole 3D scenes, view SVG
Wireframe view
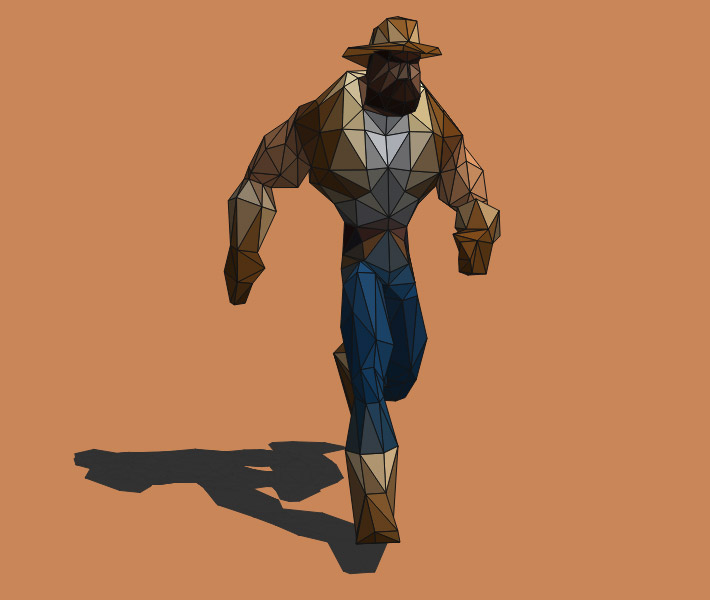
There's ten different rendering modes, one of my favorite exposes the underlining mesh.
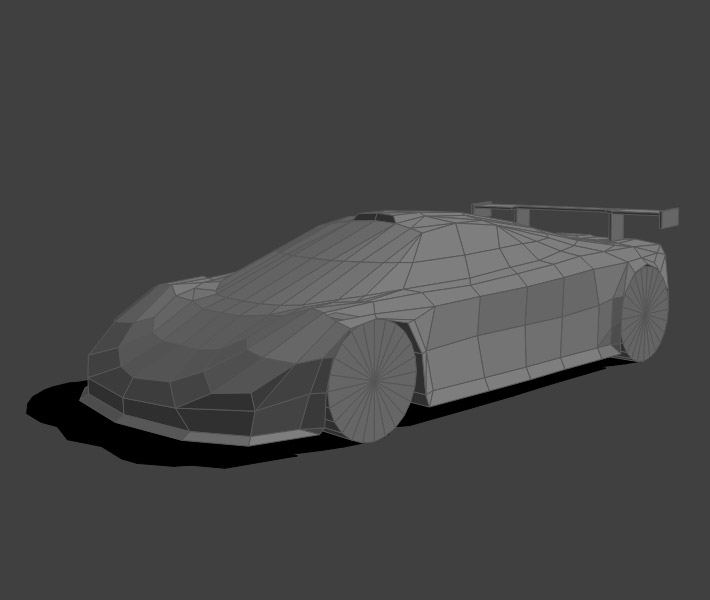
One of my favorite of the ten rendering modes shows the 3D mesh, view SVG
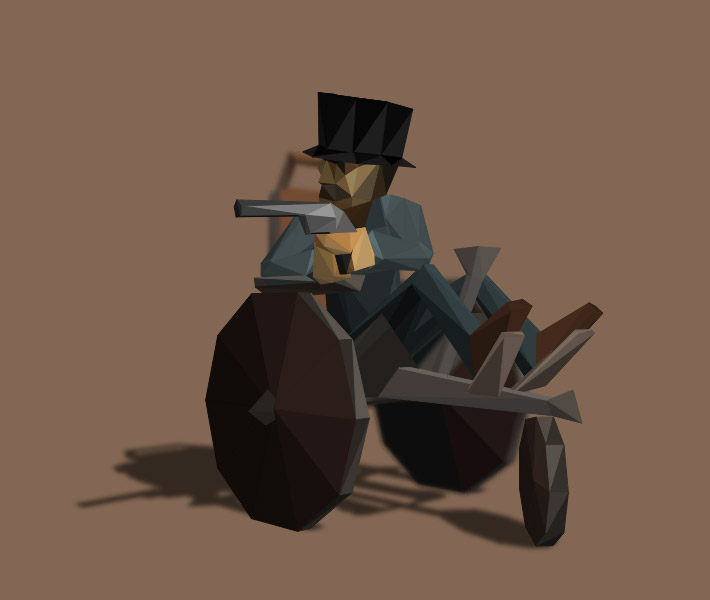
The tool renders out polygons in order, starting at the back of the scene. This made it easy to add effects in post like blur and transparency e.g. I just want the back of the SVG blurred.
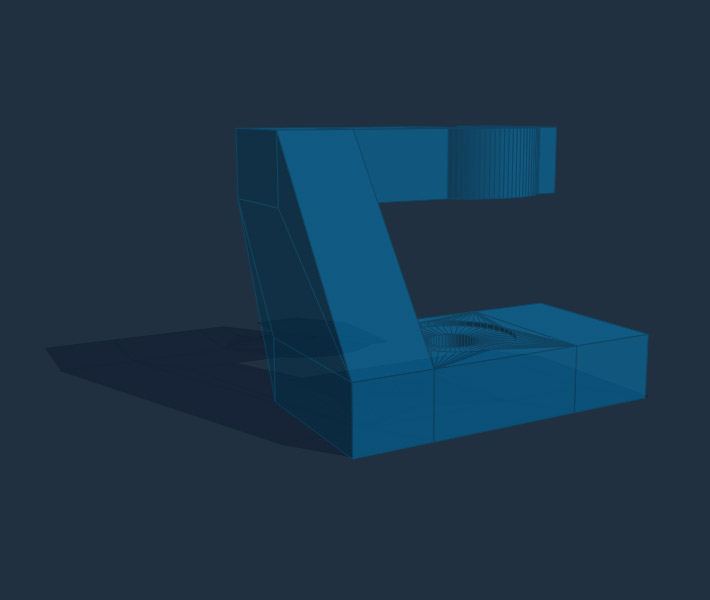
You can play with the transparency or add depth-of-field effects, view SVG
Viewport
You can set the viewport size, this will also be your SVG viewport. It also crops to the viewport. It's 3D scene so you can position the camera, snapping SVGs from various angles.
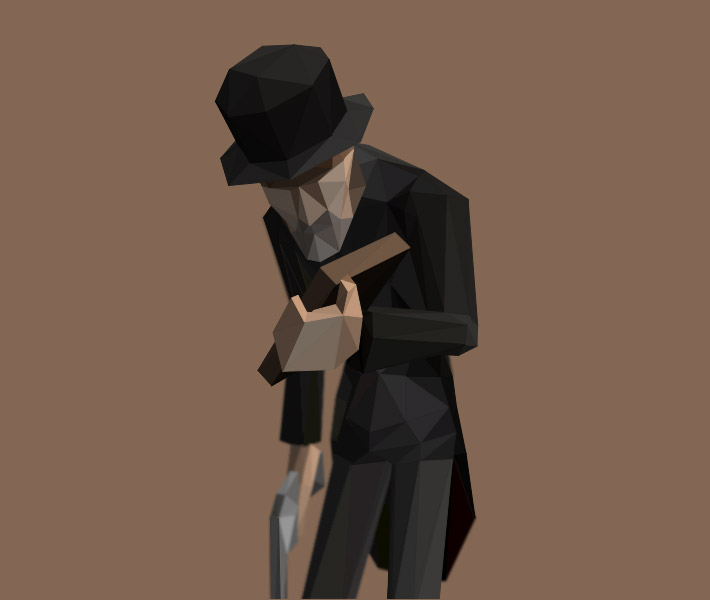
We ended up putting this one in an email as its tall format scaled down well on mobile, view SVG
Textures
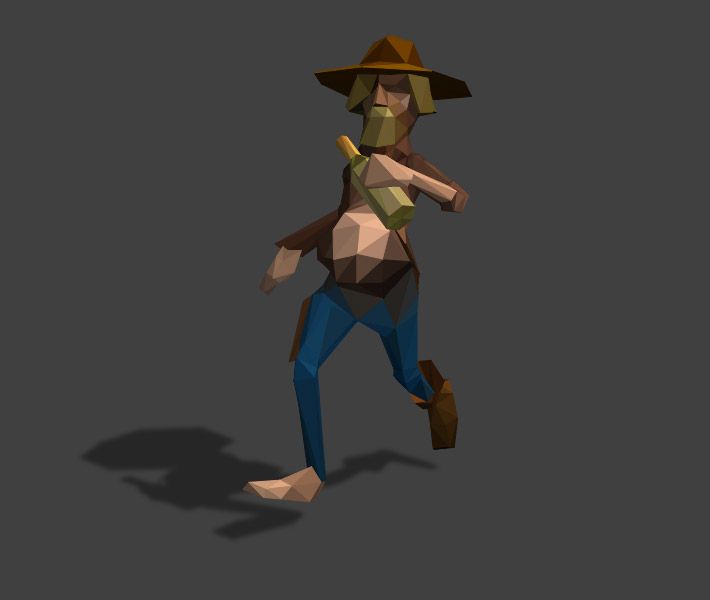
It pulls color values from the texture map and applies it to each polygon. You can load the SVG into Illustrator if you want to tweak it though it trashes the cleanly ordered code.
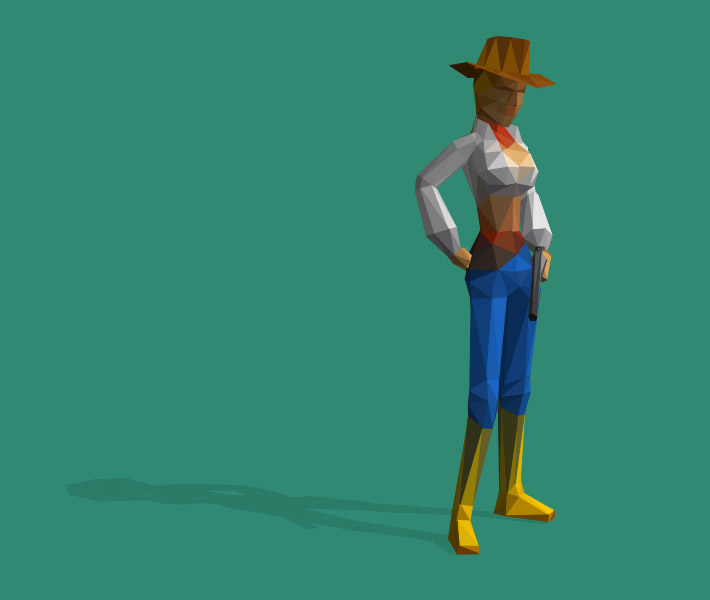
Pulls colors from the 3D texture map and applies them to the SVG, view SVG
Polygon count
Many of these SVGs are around 1,000-1,500 polygons and 35-60K. You can output triangles or quads, some models saved ~25% switching to quads.
To keep the SVG file size down work with low-poly models, view SVG
Animation
We created the animations below by loading each keyframe in as a separate model file. So we had one scene with fourteen 3D models, we then positioned the group using the 'f' key, and then exported all fourteen frames simultaneously by hitting the 'v' key. This creates one SVG file with all the keyframes as unique groups.
Can export an animated sequence, view animated SVG (Chrome/FF)
Alternatively you can import Milkshape 3D animated files. To capture Milkshape animation slow down the motion via the '[' key, and press 'v' and each frame is saved as an SVG.
Can export an animated sequence from Milkshape 3D animated files, view animated SVG
We turned the SVGs on and off in the HTML, setting the timing for each keyframe (no IE support). Though enormous fun, file size makes this impractical for email. Web devs can use more efficient techniques to stitch the SVGs together.

Hard to do these types of animations efficiently in email, web devs have more options, view SVG
How to use the 3D to SVG tool (scVector)
You can download the tool here (zip) — keep in mind its Windows only — here's some detailed instructions. Check out the 5min video below for a quick run through.
Here's part one of this SVG series Basics of SVG in Email, and part two SVG animation.